Roles are the set of selected grants, multiple grants may be assigned to one Role. Roles screen contains information about all roles that are created.
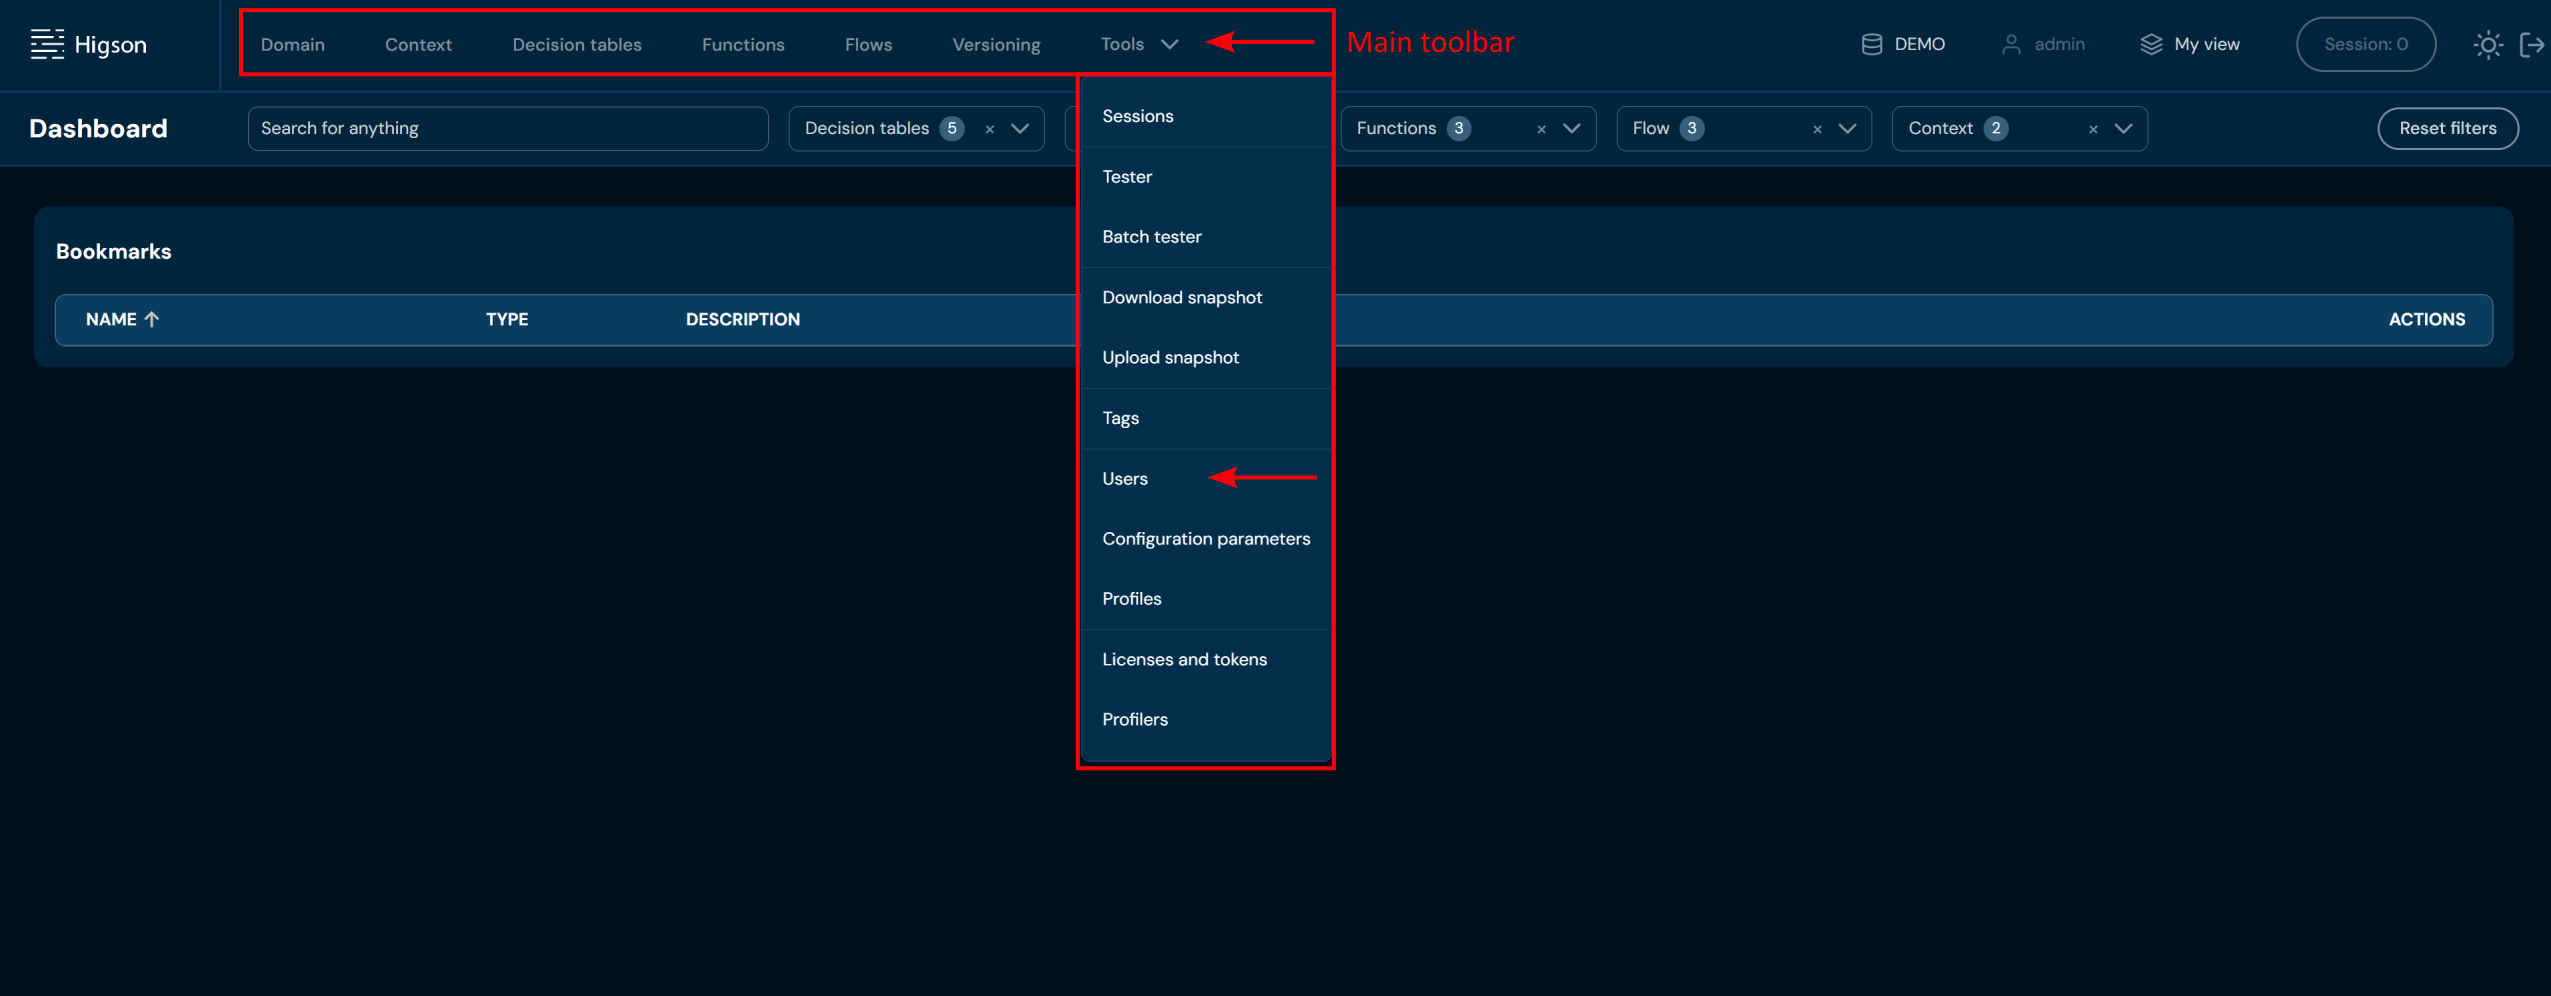
In order to see Roles, select Tools → Users in Main Toolbar.
 Then, select Roles tab.
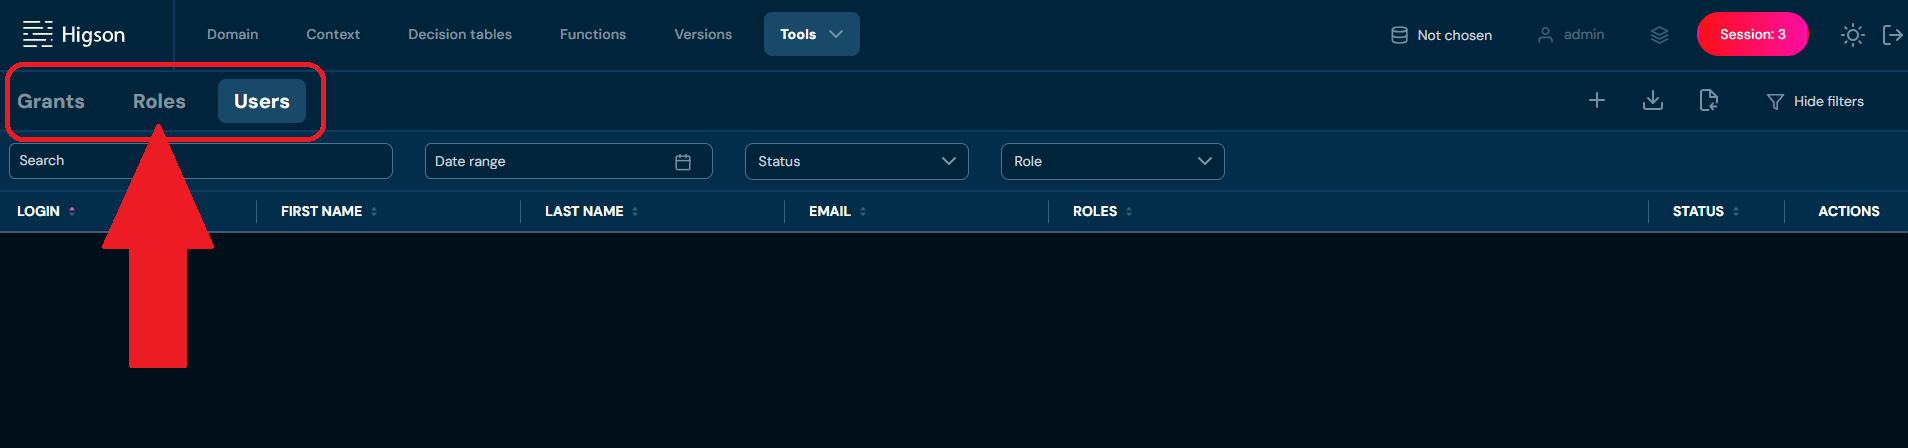 After you enter Roles you will see screen of all Roles:
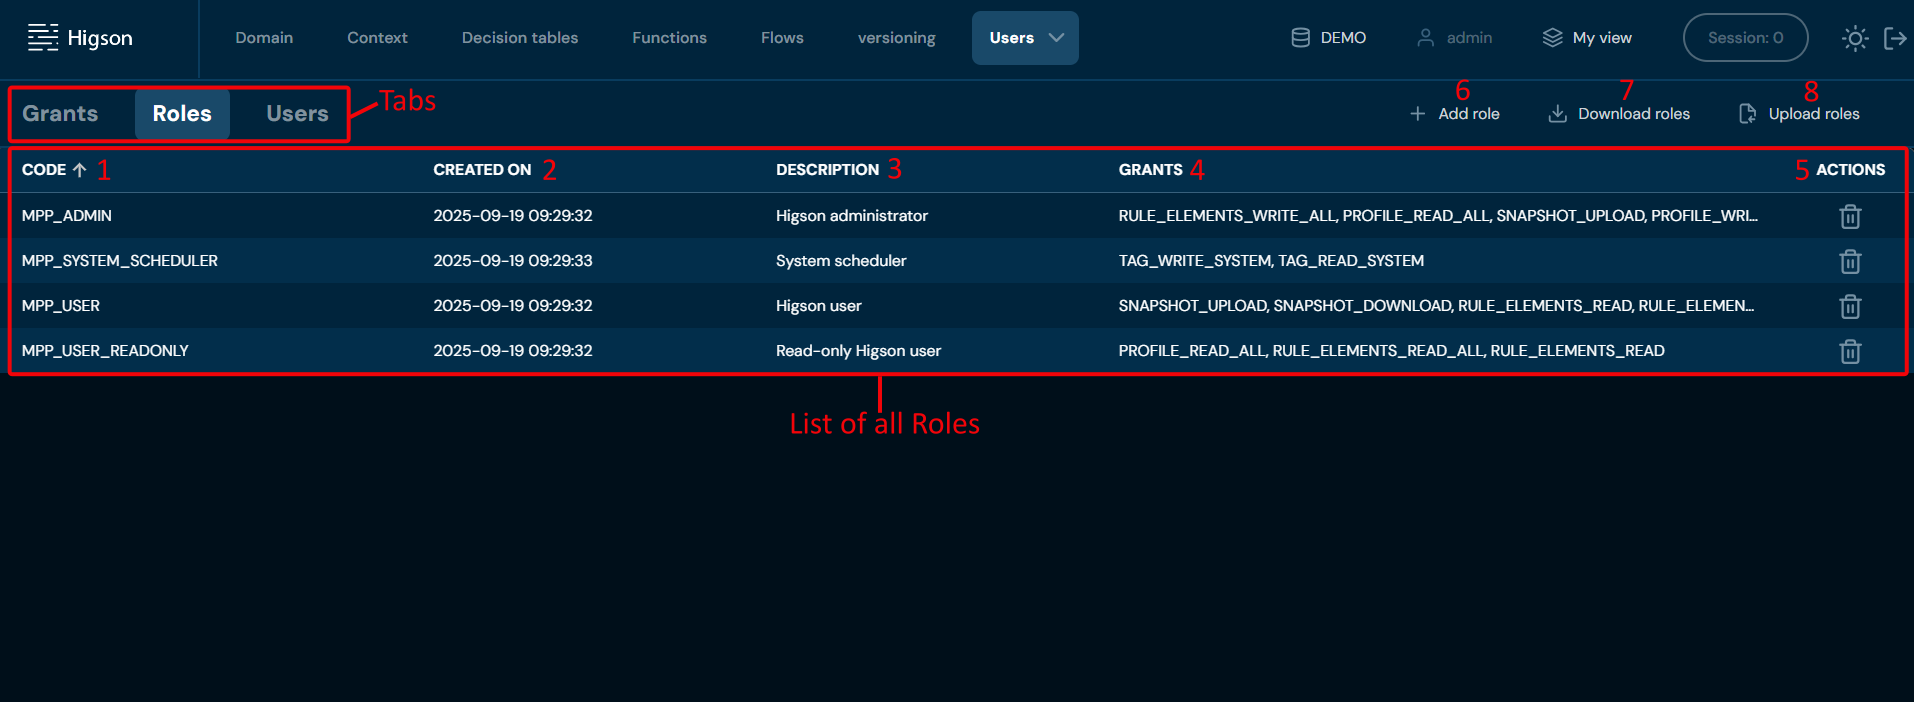
| No. | Column/Action Name | Description |
|---|---|---|
| 1. | Code | Full role code/name. Role code and Role name are interchangeable. You can sort this column by left-clicking on the arrow visible next to the label. |
| 2. | Created on | Date of creation of a role. You can sort this column by left-clicking on the arrow visible next to the label. |
| 3. | Description | Full role description. You can sort this column by left-clicking on the arrow visible next to the label. |
| 4. | Grants | List of all grants assigned to the role. |
| 5. | Actions | Quick access to Delete role (bin icon) action. To learn more about deleting roles go here. |
| 6. | Add role | Allows to create new Roles. To learn more about adding Roles go here. |
| 7. | Download roles | Downloads an XLSX file that contains data of all Roles currently on the environment. To learn more about downloading Roles go here. |
| 8. | Upload roles | Allows to upload Roles from an XLSX file. To learn more about uploading Roles go here. |
You can switch between Grants, Roles and Users screens by left-clicking on the desired Tab.

Add Role#
If you want to add a new role, follow these steps:
-
Choose Tools → Users in Main toolbar.
-
Switch to Roles tab.
-
Choose Add role.
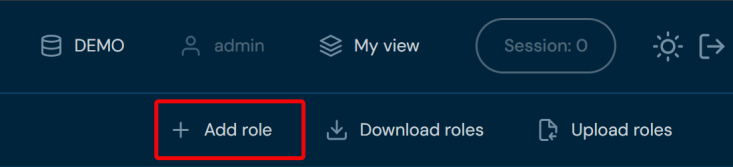
a. Choosing Add role opens Role screen.

-
In Description section you:
a. need to enter unique role code/name. Code/name can contain only characters from collection a-z; 0-9; “.”; “-”; “_” and it can’t start with „-’'.
i. If you enter illegal characters in name field, then borders will be highlighted with red color, and you will not be able to save a role.
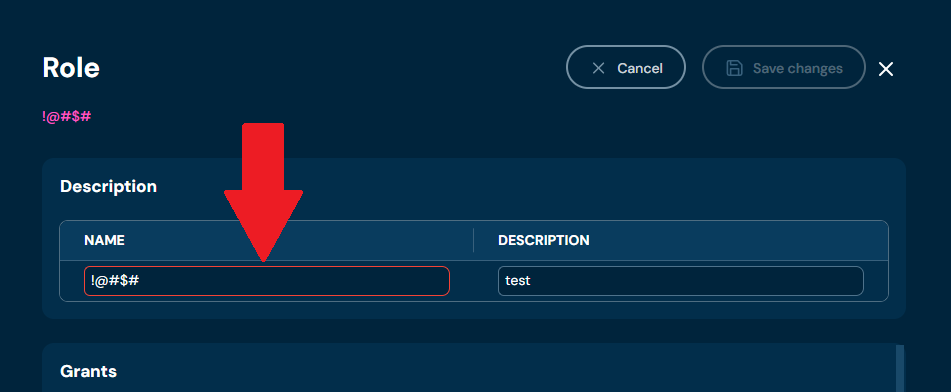
b. need to provide role Description
-
In the Grants section, you can select one or more grants to assign to a role.
-
Choose Save changes.
a. Role with entered data is created.
b. If you enter the same name as one of the Roles already created, then validation error will appear.
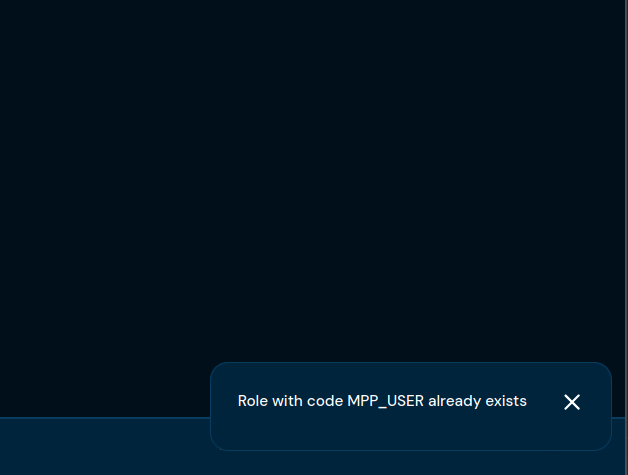
Download Roles#
If you want to download data of all roles currently in the environment, follow these steps:
-
Choose Tools → Users in Main toolbar.
-
Switch to Roles tab.
-
Choose Download roles.
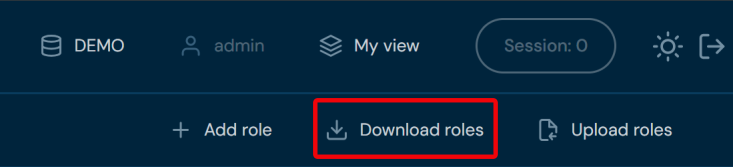
a. Choosing Download roles downloads an XLSX file that contains data of all roles currently in the environment.
Upload Roles#
If you want to upload roles, follow these steps:
-
Choose Tools → Users in Main toolbar.
-
Switch to Roles tab.
-
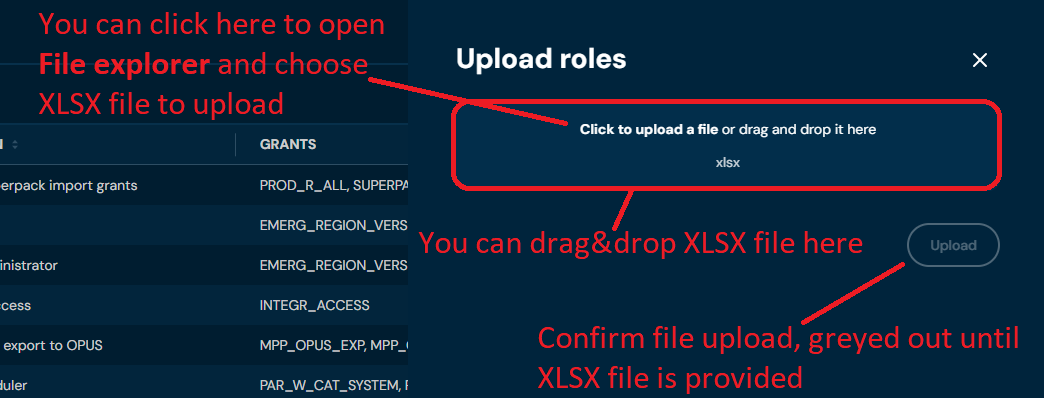
Choose Upload roles.
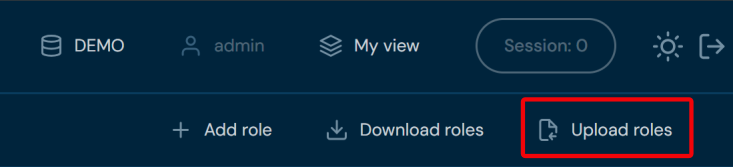
a. Choosing Upload roles brings up Upload roles screen.
-
Drag&drop desired file or Click to upload a file and choose file in File explorer.
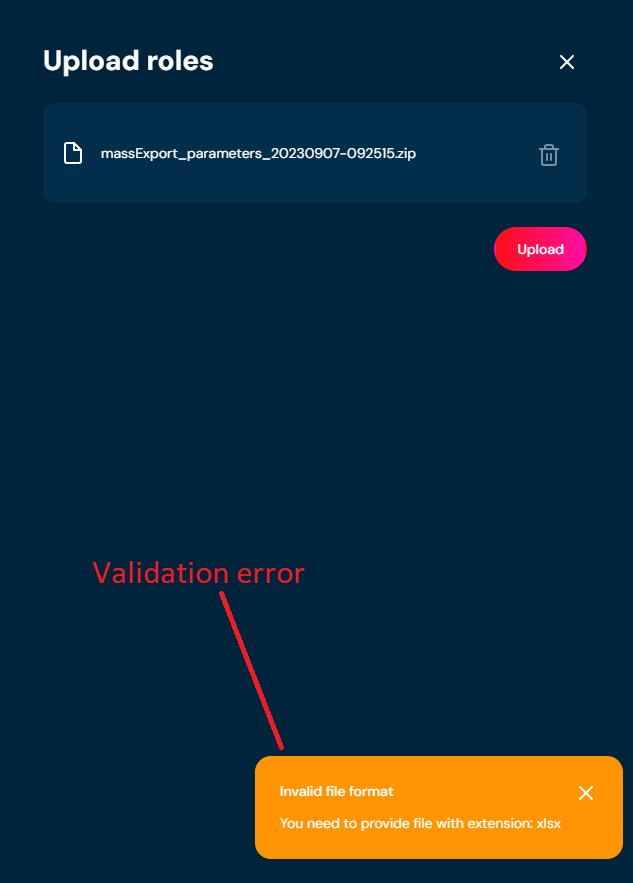
a. If you choose a file with extension other than XLSX, then validation error will pop up.
-
Choose Upload.
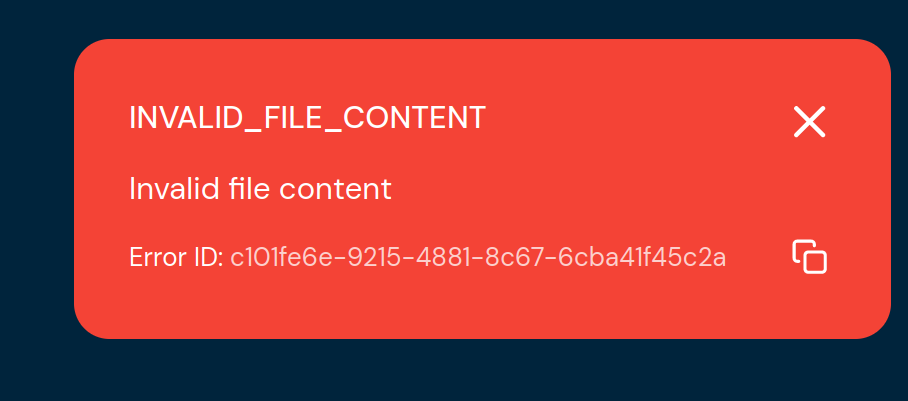
a. If there is something wrong with data in XLSX file, then validation error will appear.
-
When the progress bar reaches 100%, it means that file was uploaded correctly.
a. If a validation error occurs (see above), then an upload process is being aborted.
Delete Role#
If you want to delete a specific role, follow these steps:
-
Choose Tools → Users in Main toolbar.
-
Switch to Roles tab.
-
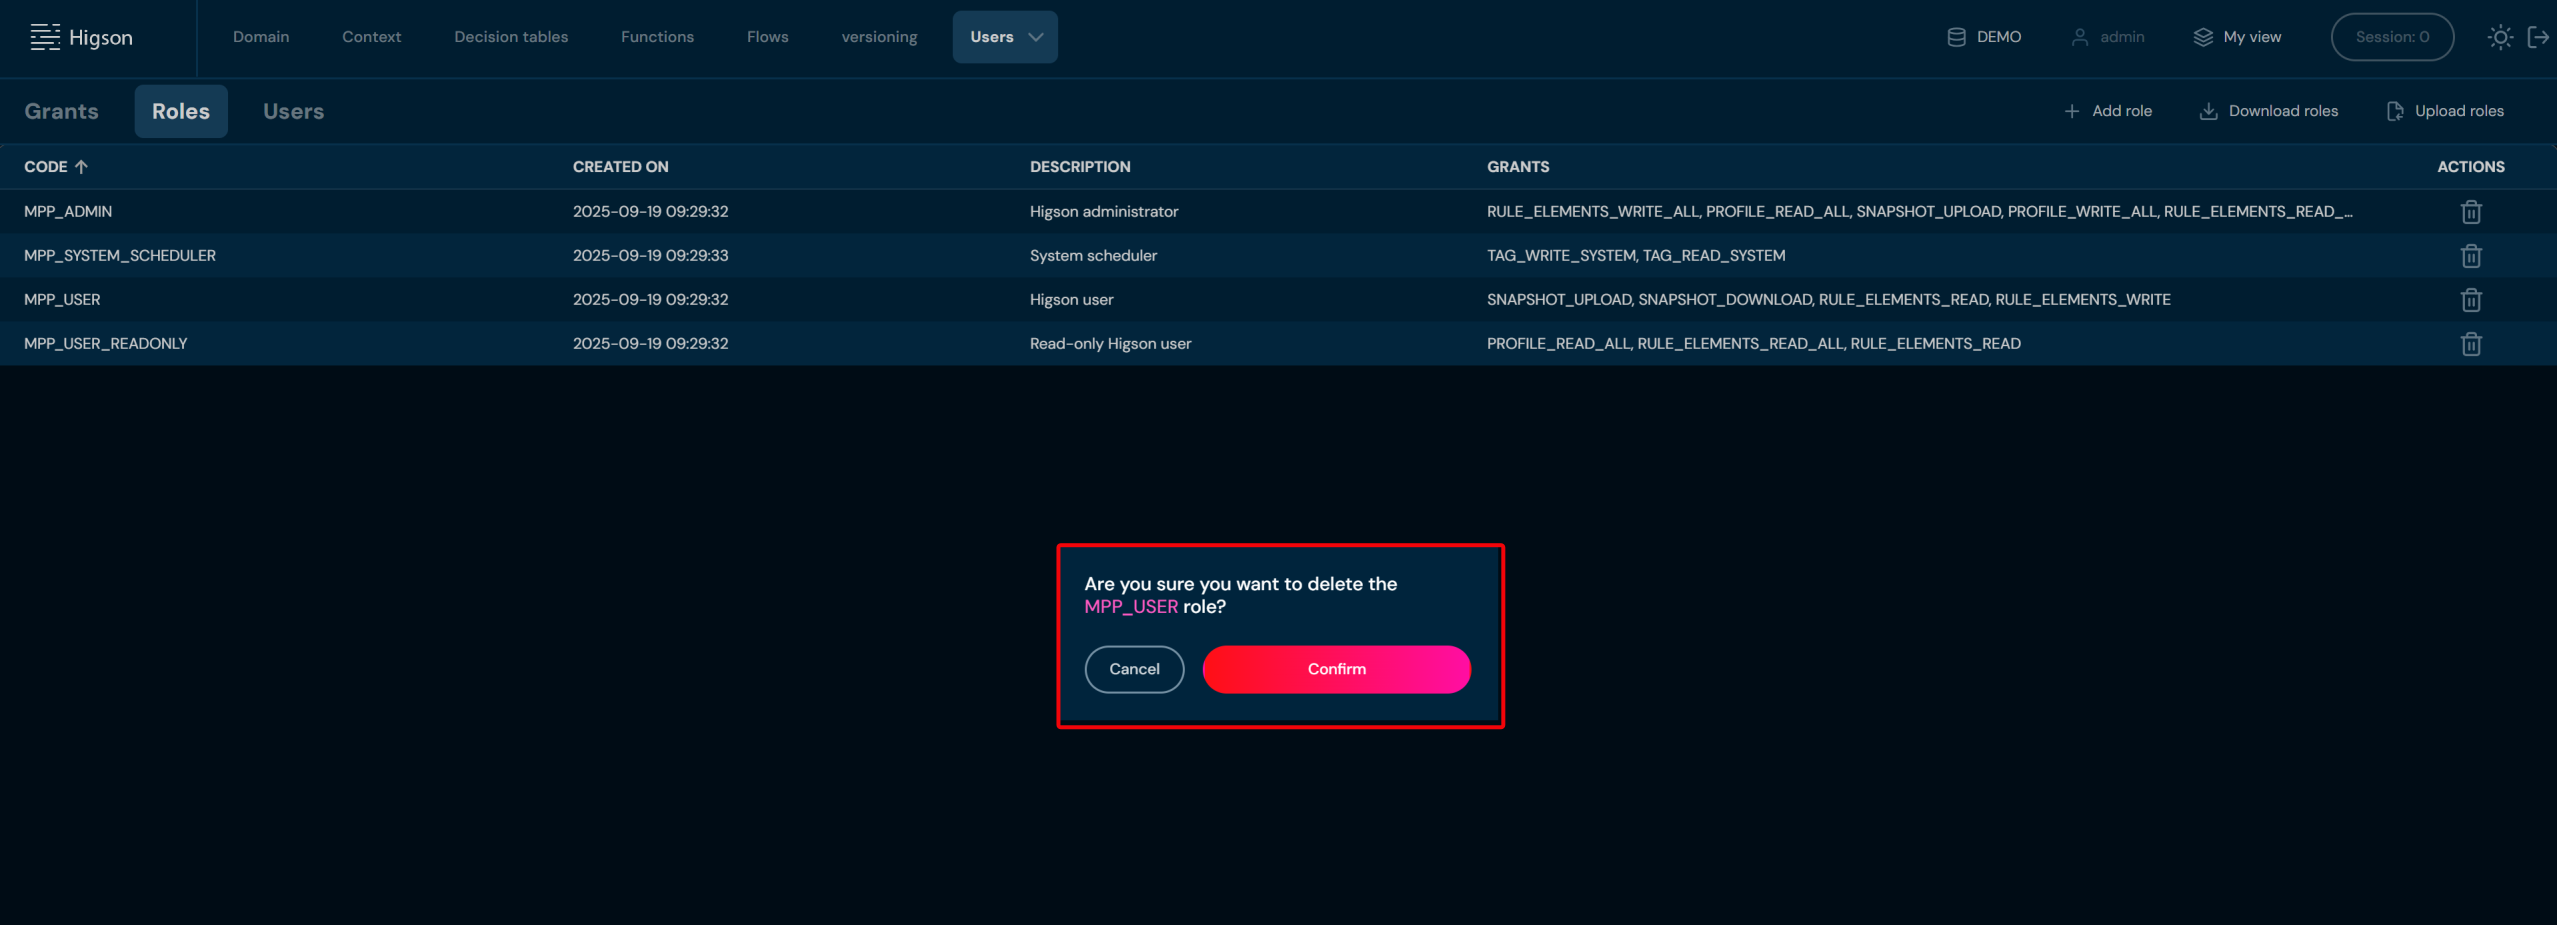
Choose Delete role(bin icon) action for a role you wish to delete.
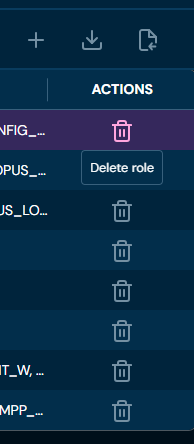
b. After choosing Delete role action, confirmation pop-up will appear.
-
Choose Confirm.
a. Specific Role is being deleted from the environment. This action is irreversible.